


Resurrection, Healing, a Wall, Sage got it all! If you want to play Sage as "Radiant" as Grim, then this article is for you!
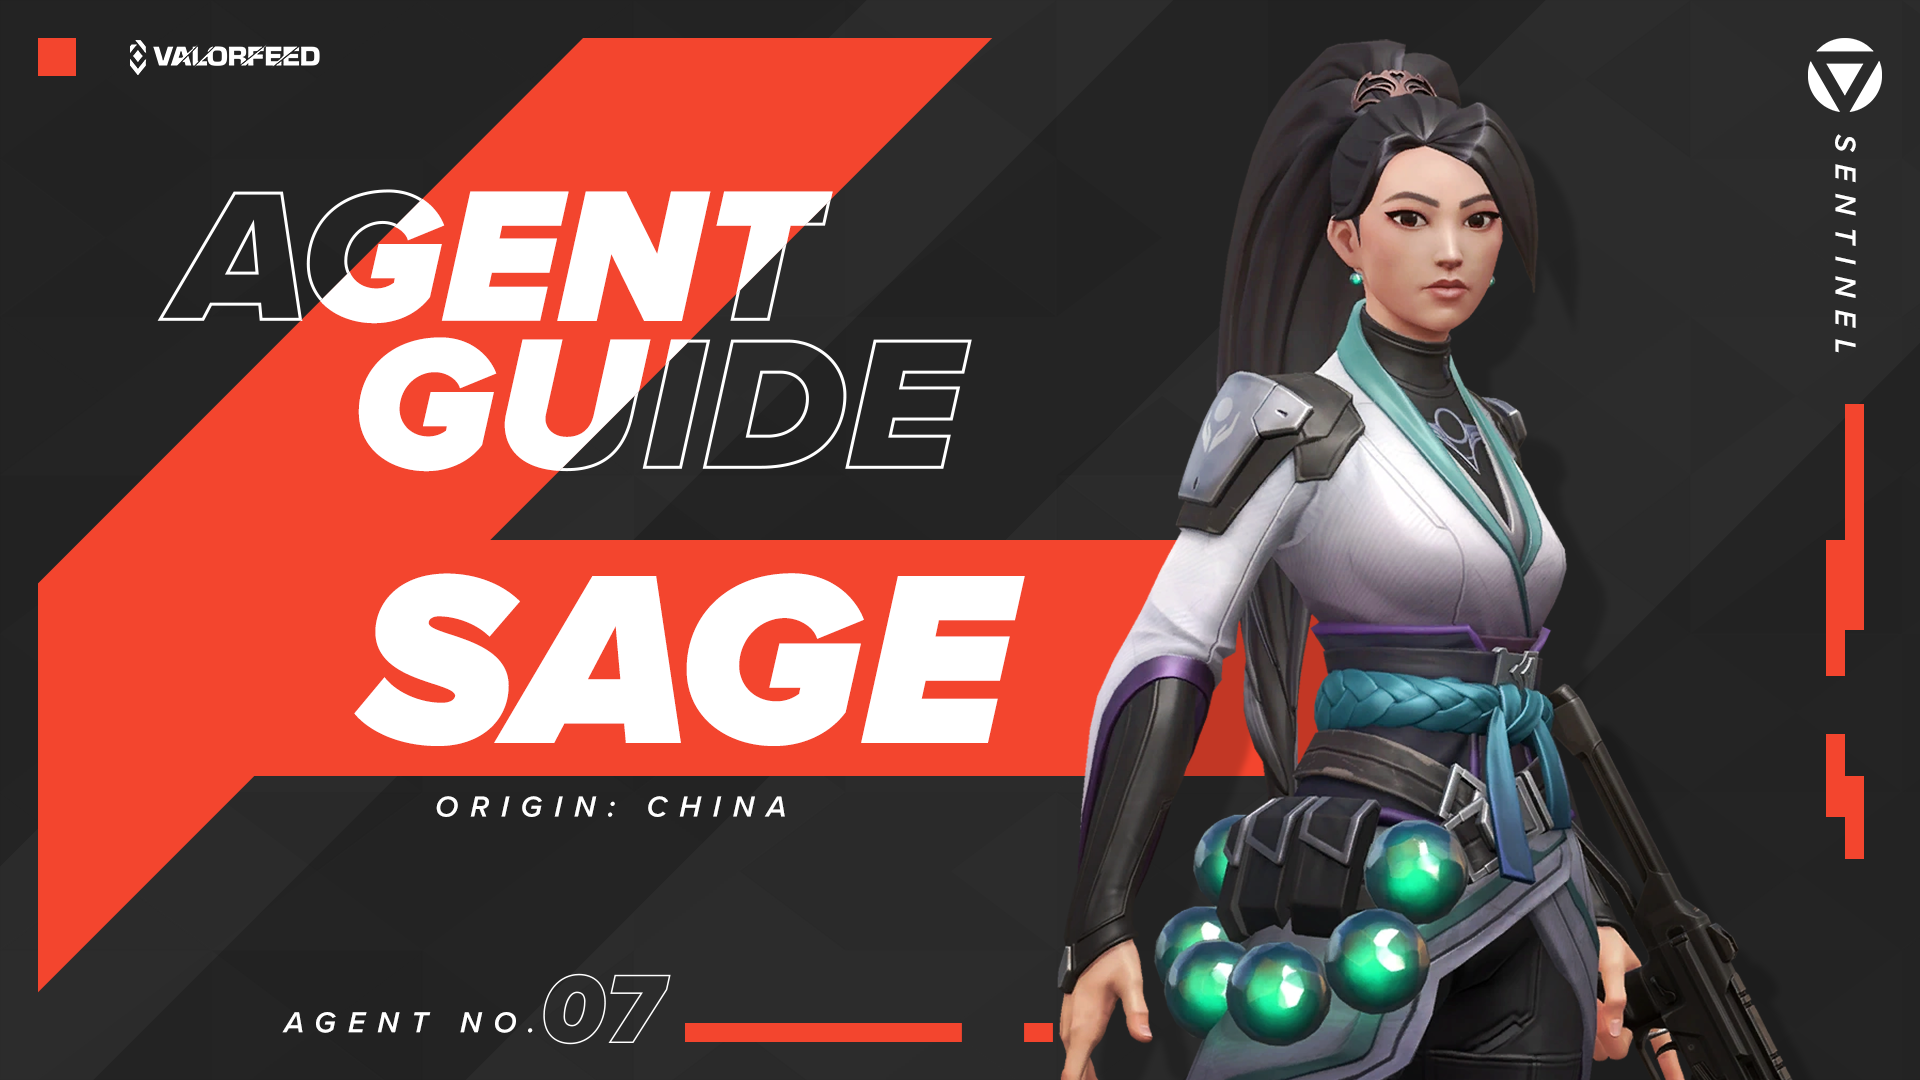
It is no secret that Sage, profiled as both a Shield and a Sword, is the most popular Sentinel in pubs and competitive Valorant. Sage is a Chinese Radiant Monk, and as the lore states, she is Protocol's second-in-command just under Brimstone.
Sage Abilities Explained
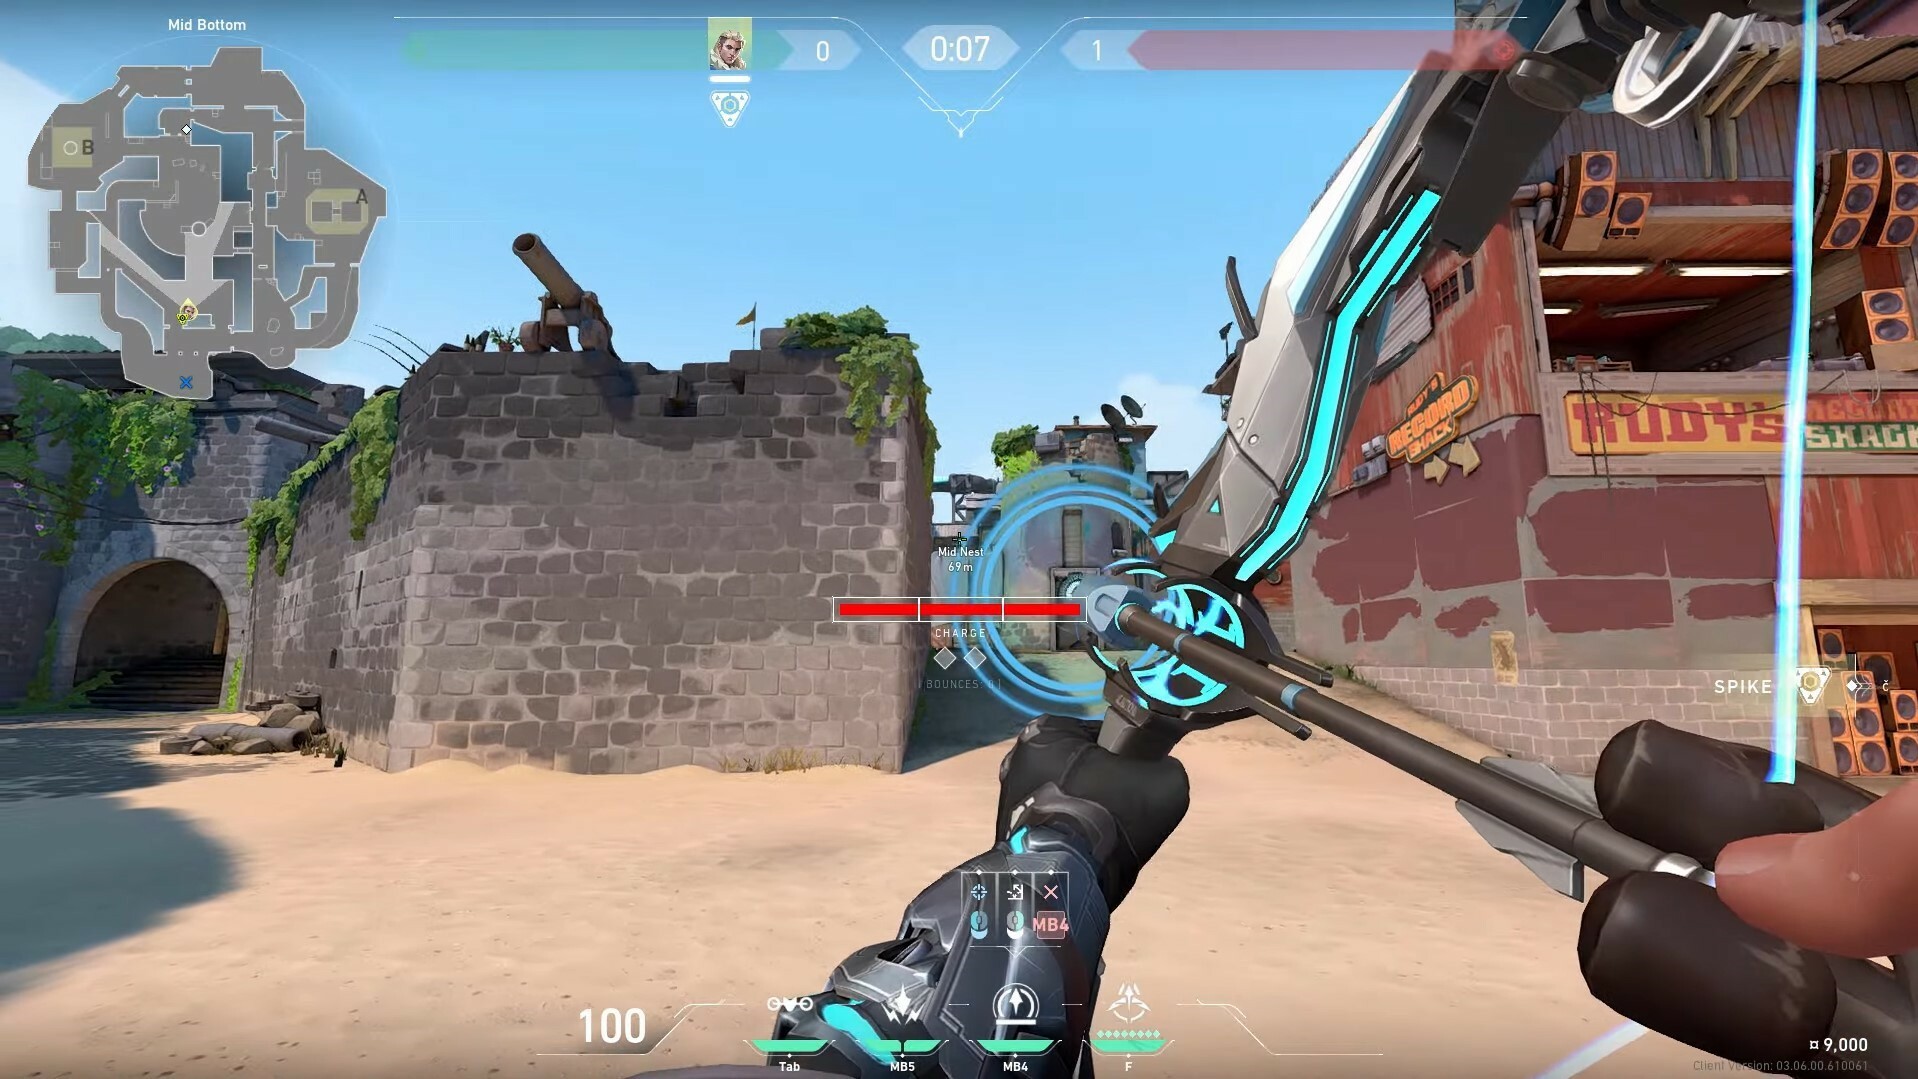
C Ability - Barrier Orb (Cost - 400 Credits)
Her first ability is a wall that's used to block choke points or entries to sites. The wall is made of several vertical elements, and you can make an entry through the wall by shooting it.
This ability has multiple purposes that can be:
- defending the spike
- blocking a push from a tight angle
- blocking entries on the site
- defending yourself or a teammate.
If the enemy has some obstacle ahead of you, you can put the wall on top of you as it will boost you up to the top, helping you overcome that obstacle or reach a particular spot on the map.

It's important to note that this is a very expensive ability as it costs 400 credits, and it's crucial that you carefully position it at the right time and place. The fortification time is 3 seconds, and by holding the right-click button and moving your mouse, you can rotate the wall as you like. It lasts forty seconds, and the "vertical elements" have 400 HP.
Q Ability - Slow Orb (Cost - 200 Credits, Charges - 2)
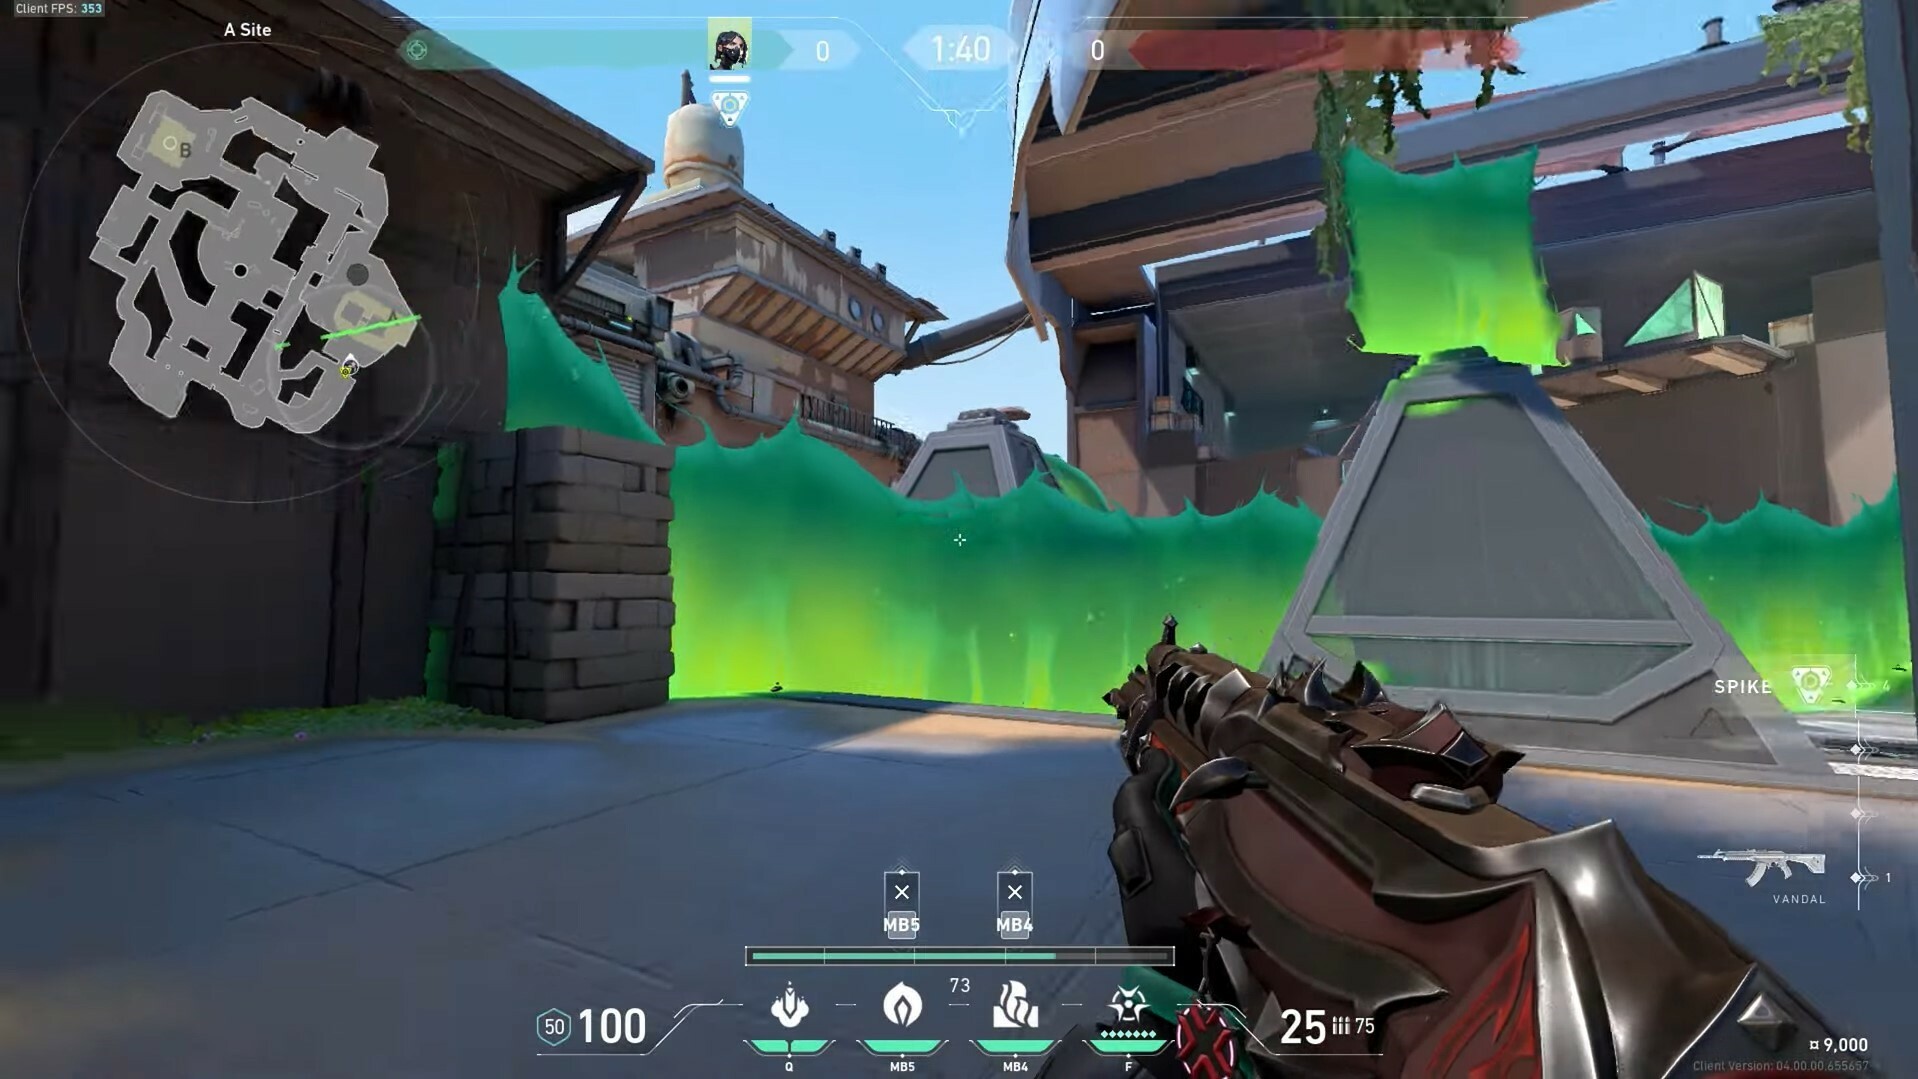
Sage's second ability is a radianite orb. It's a throwable ability that can bounce on walls and break on impact with the ground. Once broken, it creates a circle-like frozen field that slows EVERYONE (including your teammates) that steps on it. On top of it, everyone moving inside the frozen area makes noise.
Once on the ground, it has a 1-second preparation time till it spreads in its Area of Effect circle. It lasts 7 seconds, and the slow affects 50% of your normal movement speed. Its value is purely strategical and should only be thrown in certain situations.
E Ability - Healing Orb (Signature Ability)
This Sentinel is all about her Orbs. This Signature Ability is, as the name suggests, a "Healing Orb". It heals you or your teammates for 60HP over 5s if used with the left click on an ally or 10s if used on yourself with the right click. The orb heals over time and should be used wisely as receiving damage will STOP its effect.
Using it as early as possible is advisable as its cooldown allows this ability to be used multiple times in a round. Sage is mostly known because of her Heal, as people love to play risky around her knowing that after the shootouts, they can return to her to restore their missing HP.
Ultimate Ability - Ressurection (8 Ult Points)
We've come to her ultimate and most important ability. Ressurection or better known as "Revive," is a game-changing ultimate that revives a dead ally for a given round. It is a very costly ability requiring eight ultimate points, but given its effect on a round, the cost is justified. Once a teammate dies, you can go near him, and by aiming and firing at him with the ultimate button clicked, you can revive them to full HP.
The revival preparation time is 3.3s, and this is where the tricky part comes. While being revived for these 3.3seconds, the target is very vulnerable, so it's highly advised to revive a teammate only if there is cover.
That cover can be:
- Allies being nearby
- A wall to block the incoming shots
- Scouting the area and making sure it's clear
- A distracting ability from your teammates
Getting ultimate points as Sage can be challenging. She is a Sentinel and rarely wants to be in the center of fights, so getting kills isn't the top of her priorities. It's completely fine to ask your teammates for cover and allowance to pick up the ultimate orbs when available on the map.
Sage if she switched abilities with Brimestone #ValorantArt #VALORANT pic.twitter.com/wd1yg5vd56
— Bamzziy (@Bamzziy_) June 12, 2022
How To Attack With Sage?
If you're wondering how to attack with Sage, the answer is simple; you do not. Given the nature of her role as a healing sentinel, you should always be at the back of the line wherever the push is happening. The good thing about Sage is that she can deal with lurkers, and being at the back allows her to cast her Q or C ability.
These abilities will either completely block the lurking entry points with a wall or slow them down with the Slow Orb. While at it, you can try to pick up any ultimate points that you can since your ultimate is one of the best in the game and can turn a round in favor of your team.

How To Defend With Sage?
Sentinels are known for being defensive experts. Sage is no different, having a variety of abilities to boost your defensive line on the sites. The ways of defending sites with Sage vary from map to map, but you always want to be close to the entry points. Being close to the entry points will allow you to hear any movement; if there is any, you can always block the entry with a wall or slow them down with the orb.
That way, you will give your team valuable information and time to react and know where the enemies are. Your most important job after this is to stay alive. Your job in an average round is to use your heal without dying and always be there to support the entry fraggers and report for lurkers.
The Best Maps For Sage
Icebox
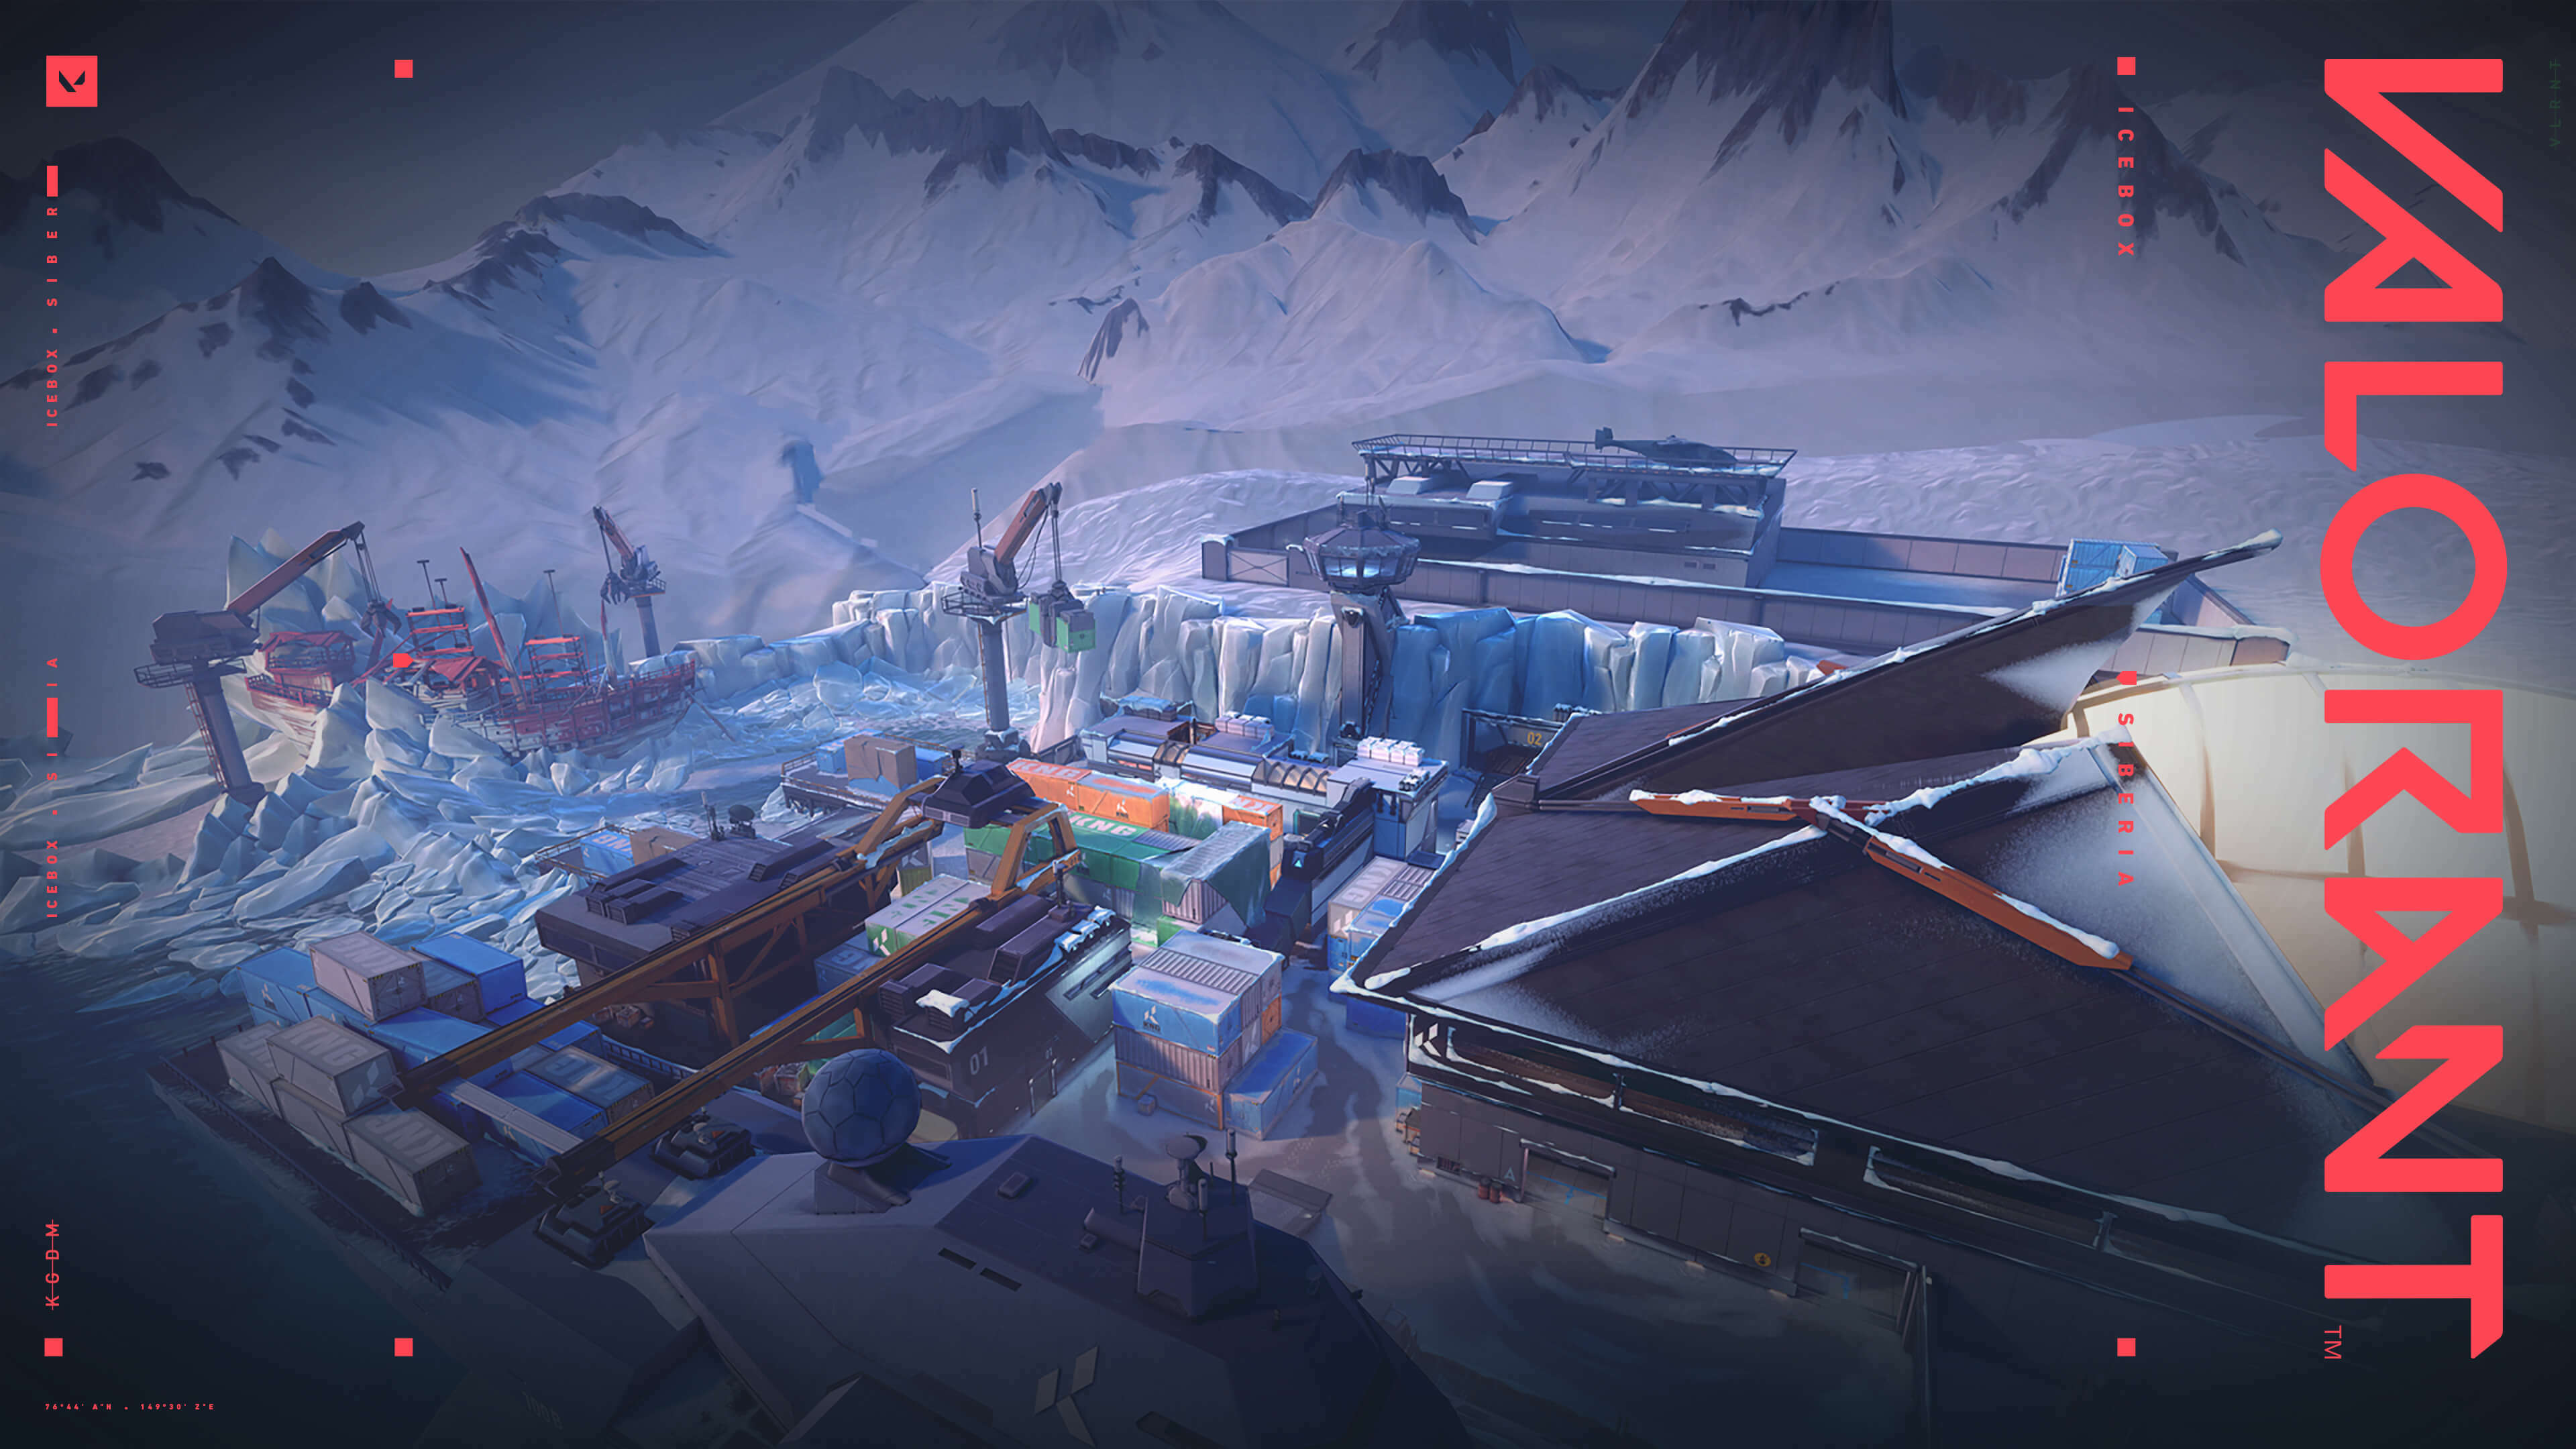
Sage is an agent that isn't necessarily bad at any map due to her Signature and Ultimate Ability, but there are maps such as Icebox that would benefit a lot from her wall placement. Icebox is known for being a map that favors snipers, and putting a wall against them can make their life difficult. The best place to place a wall in Icebox is the Icetube, as it would completely block it for passage for almost the entirety of the round.
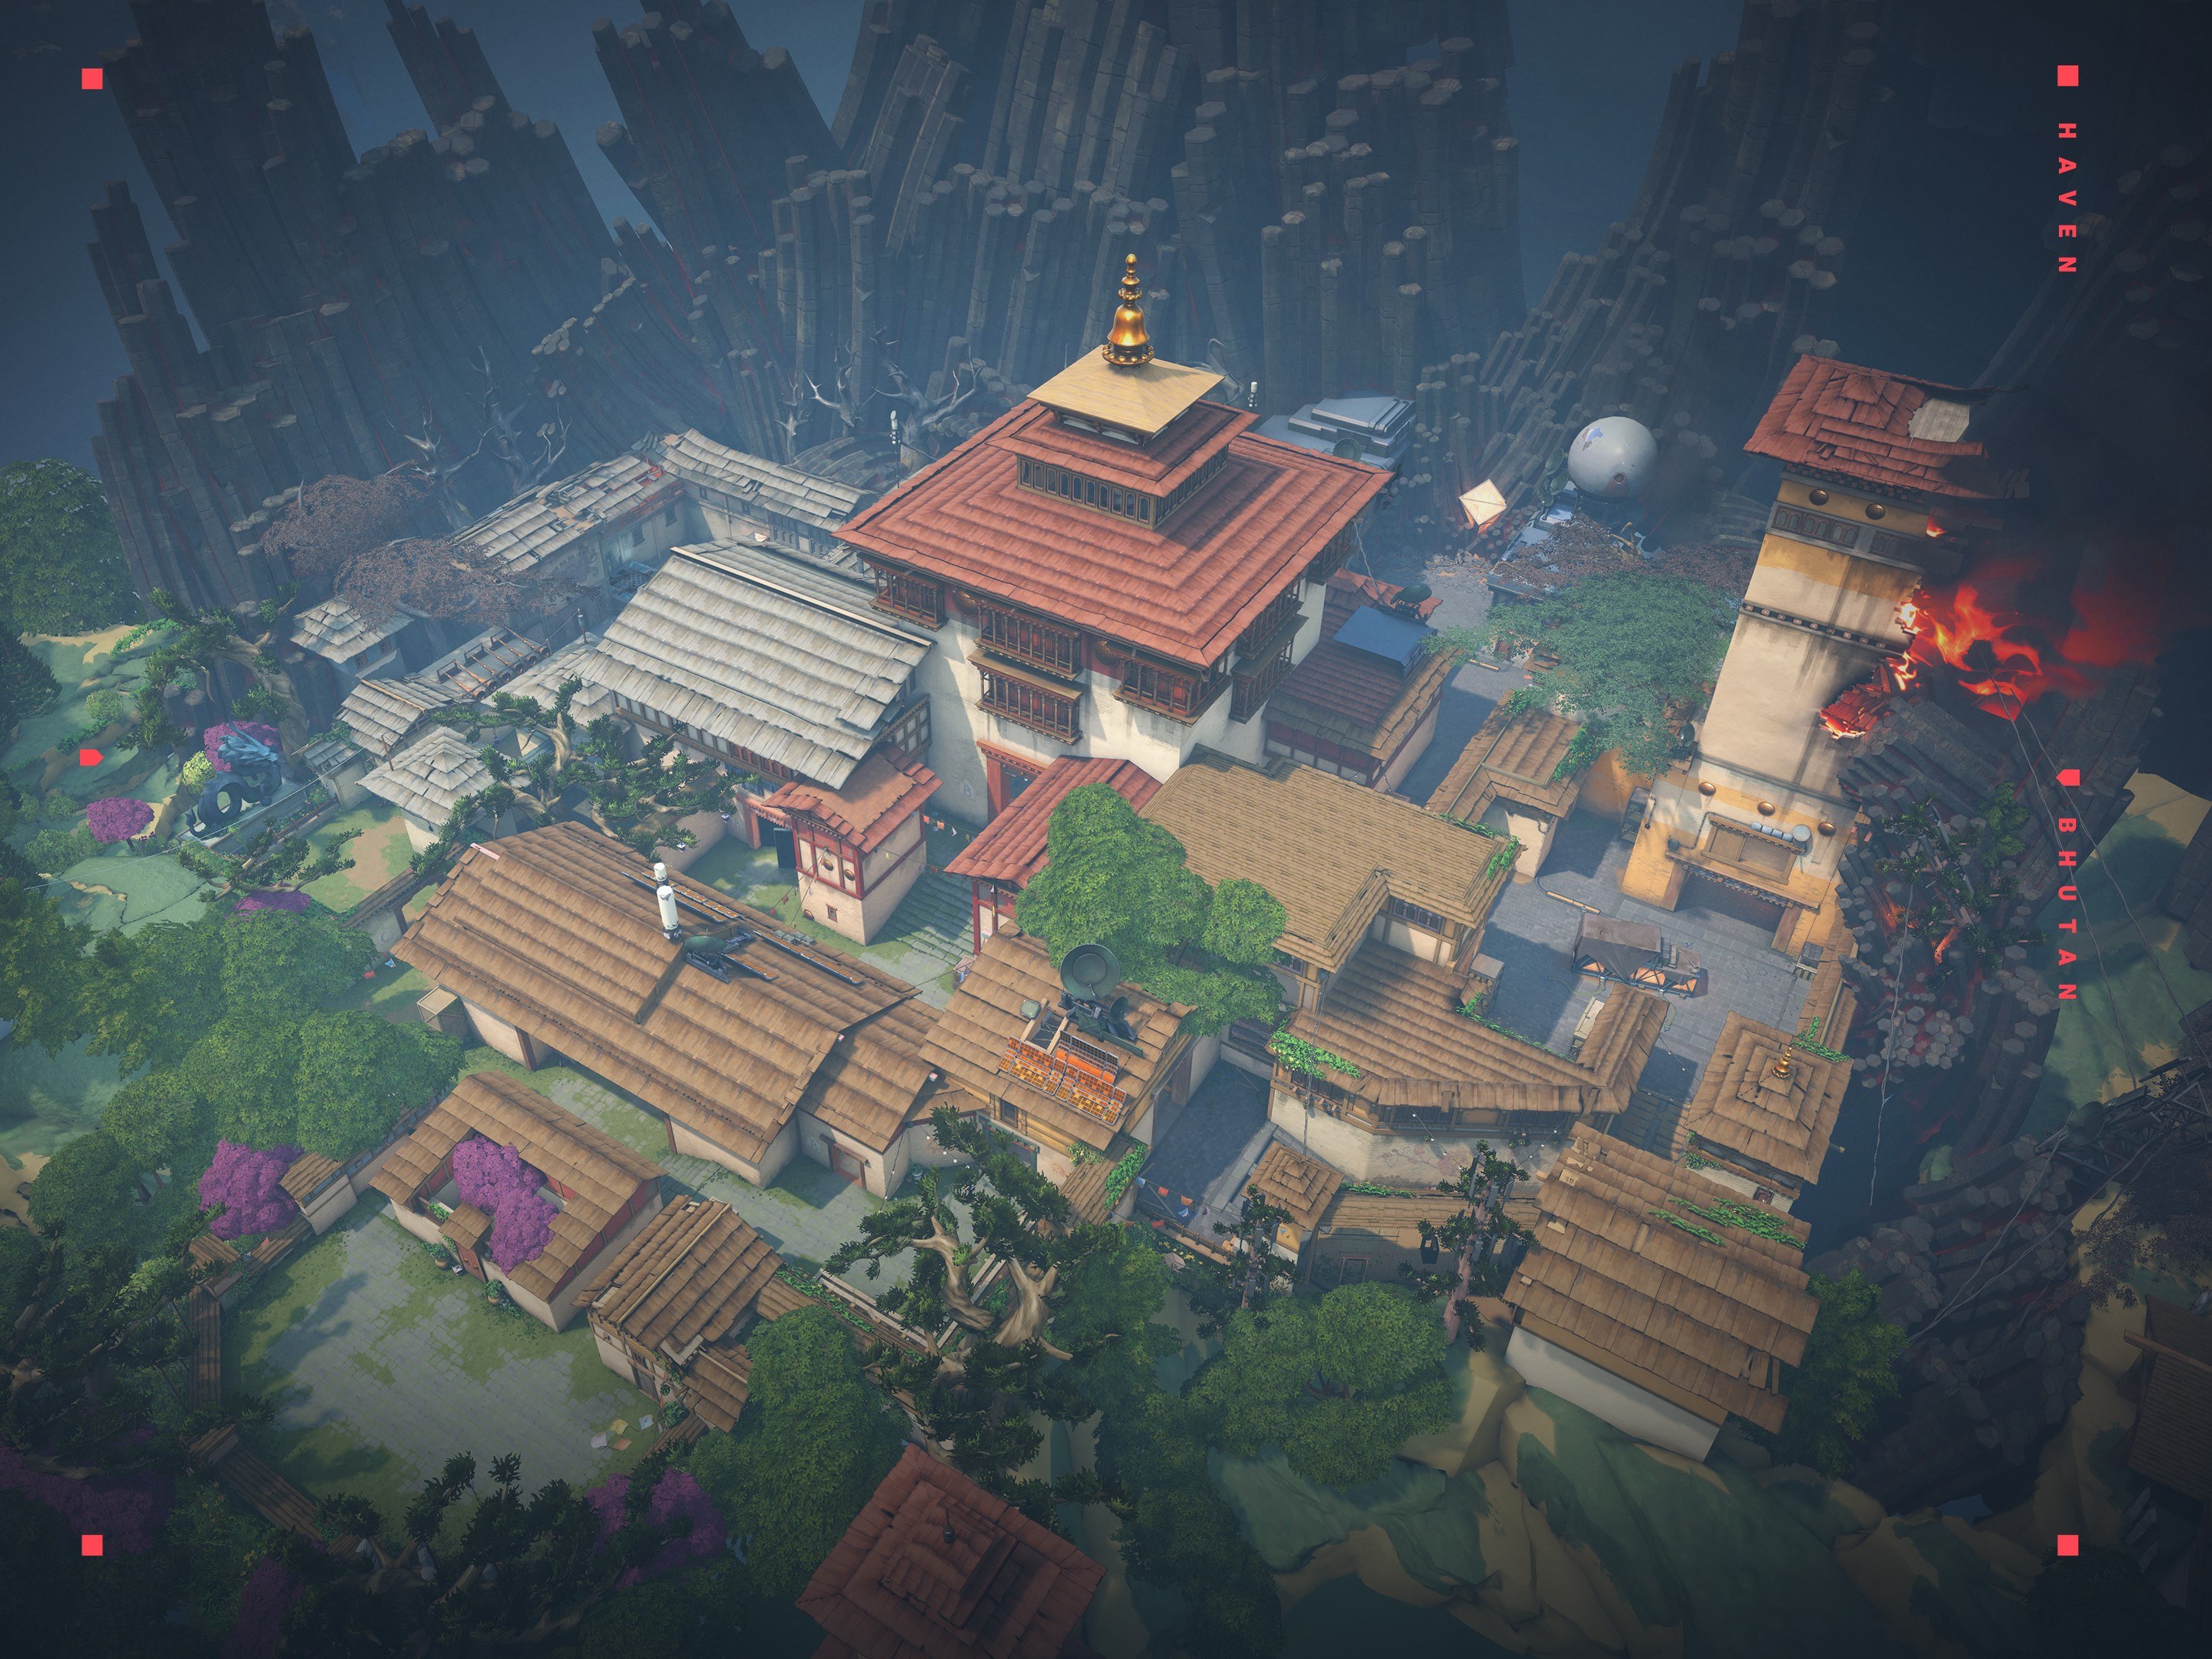
Haven
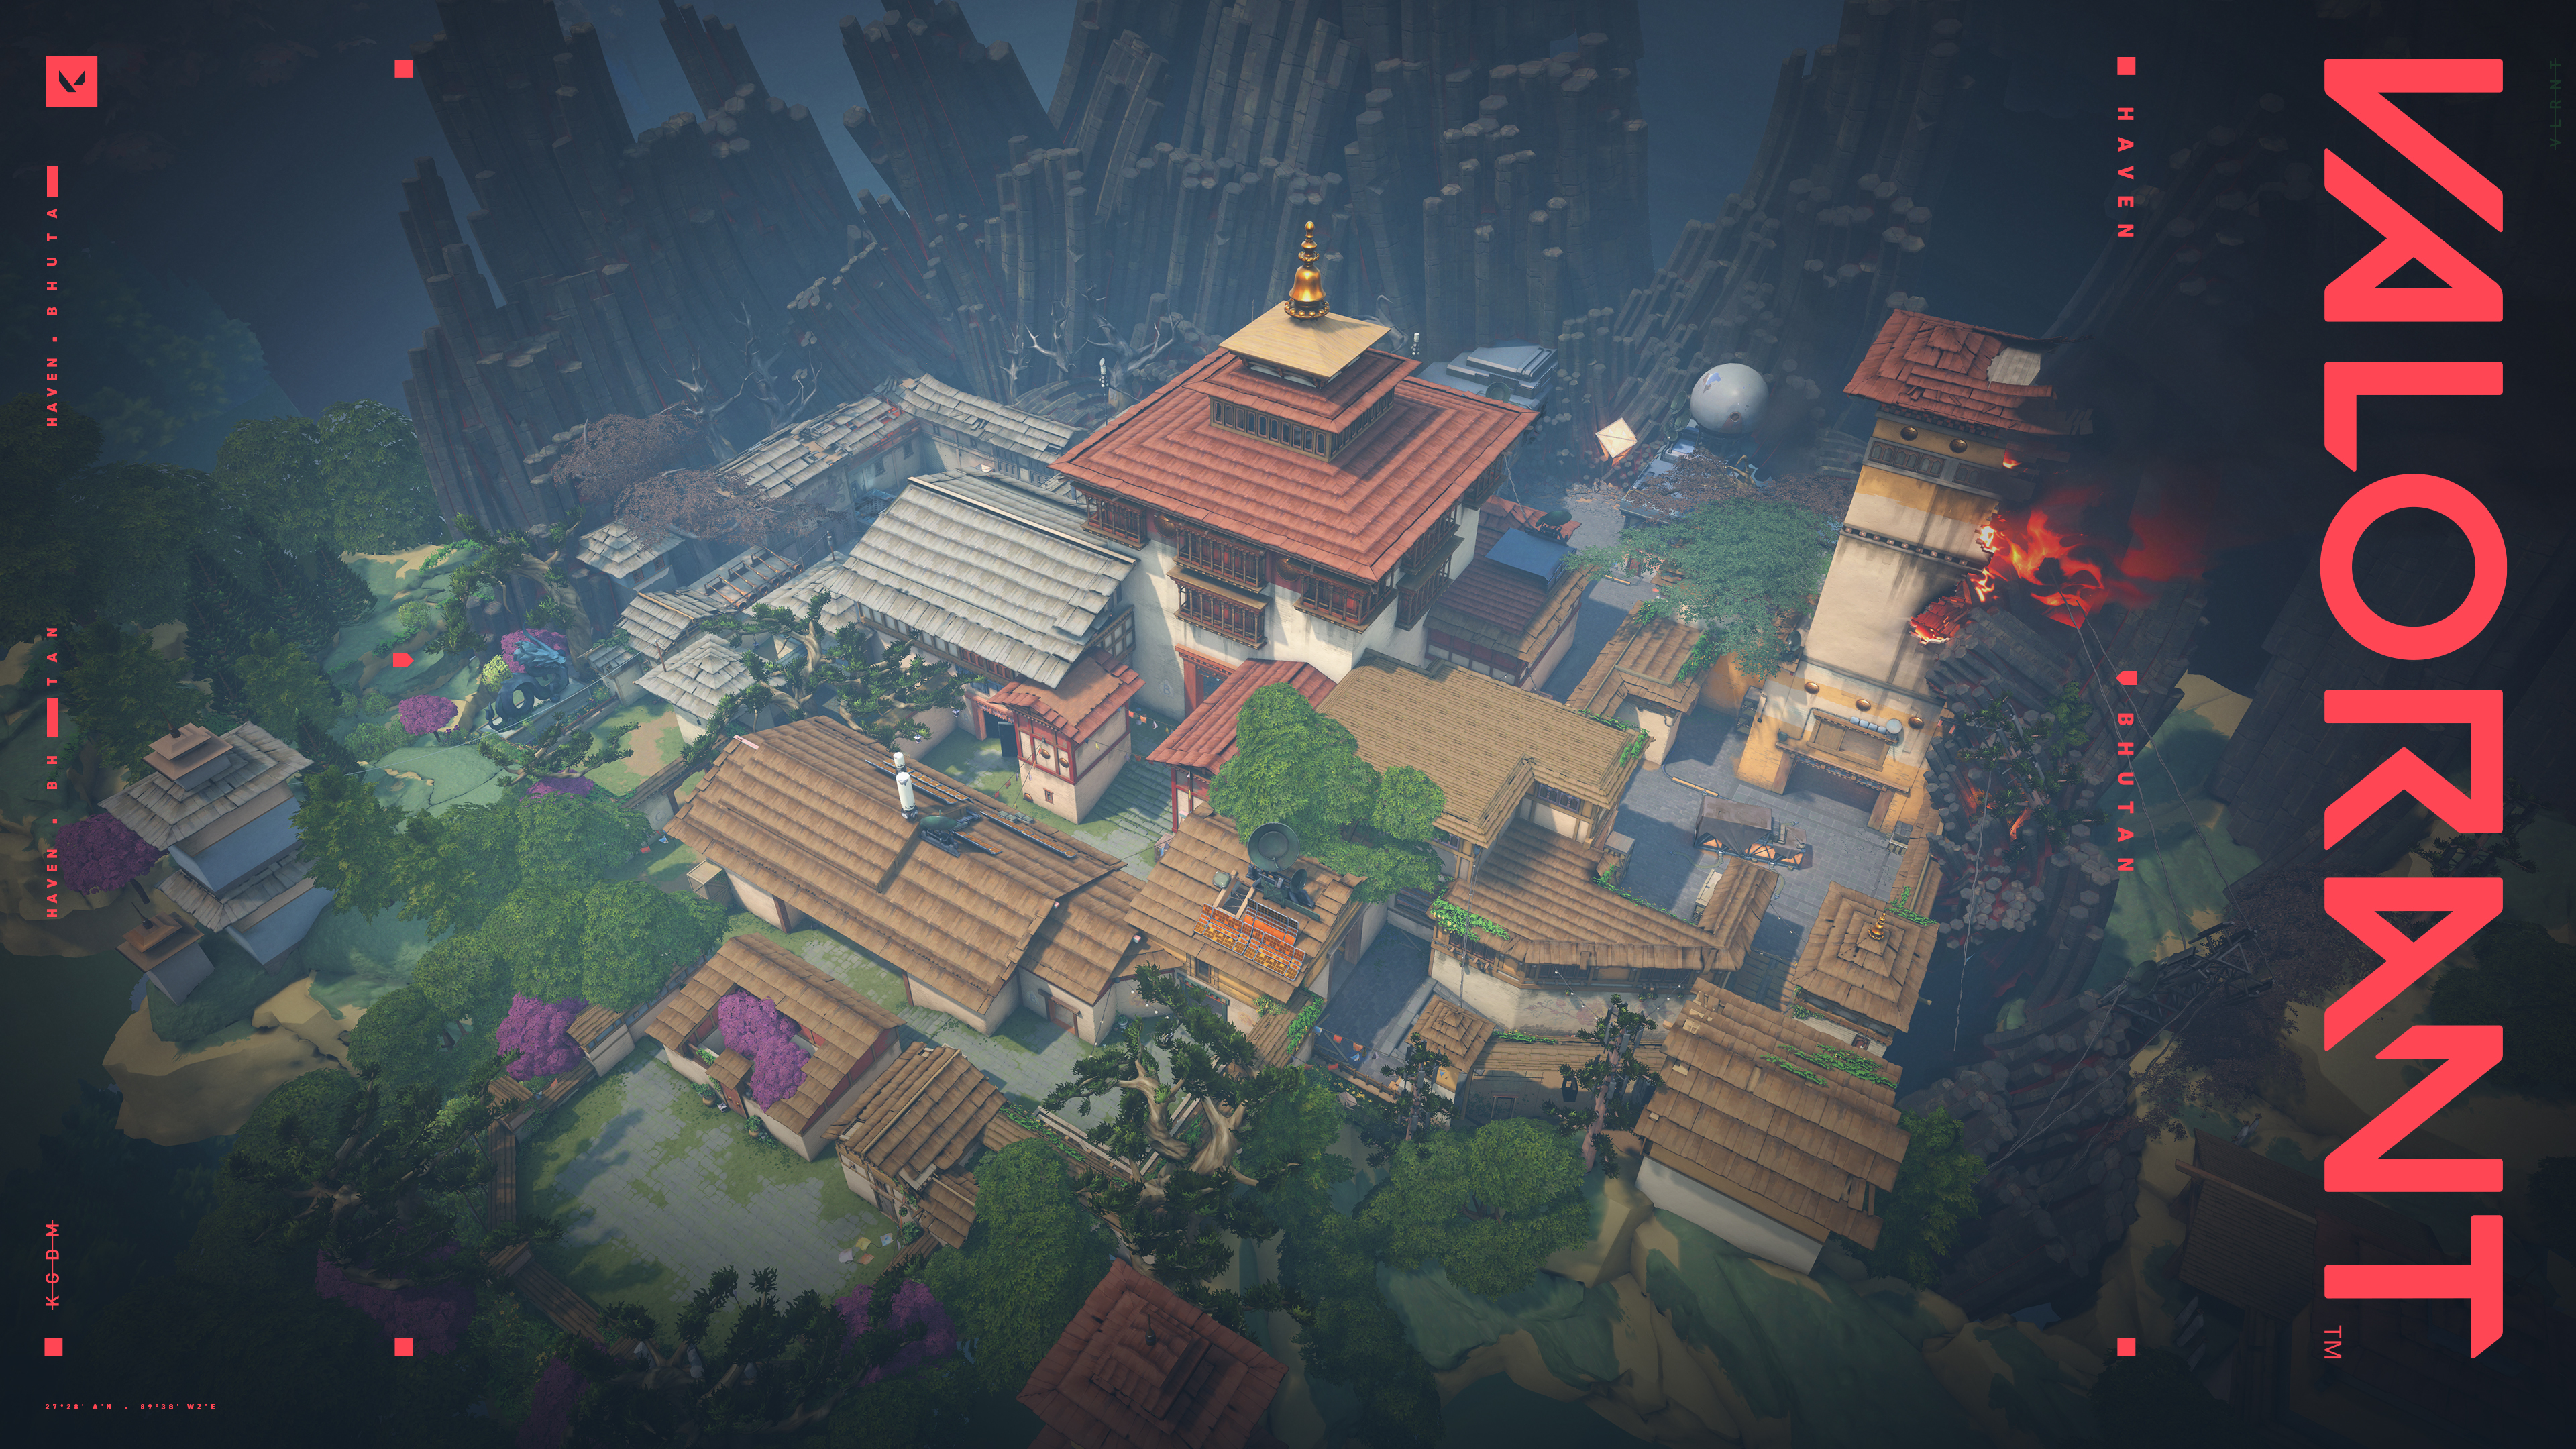
Haven is the only map in Valorant with 3 Sites and requires extensive defending to win the defensive rounds. Defending on Haven as Sage is easy, as every single one of the sites has a tight clutch spot that can be blocked with a wall. There are no unique places where you would exceptionally Wall as Sage, but if we have to pick one, it would probably be mid.
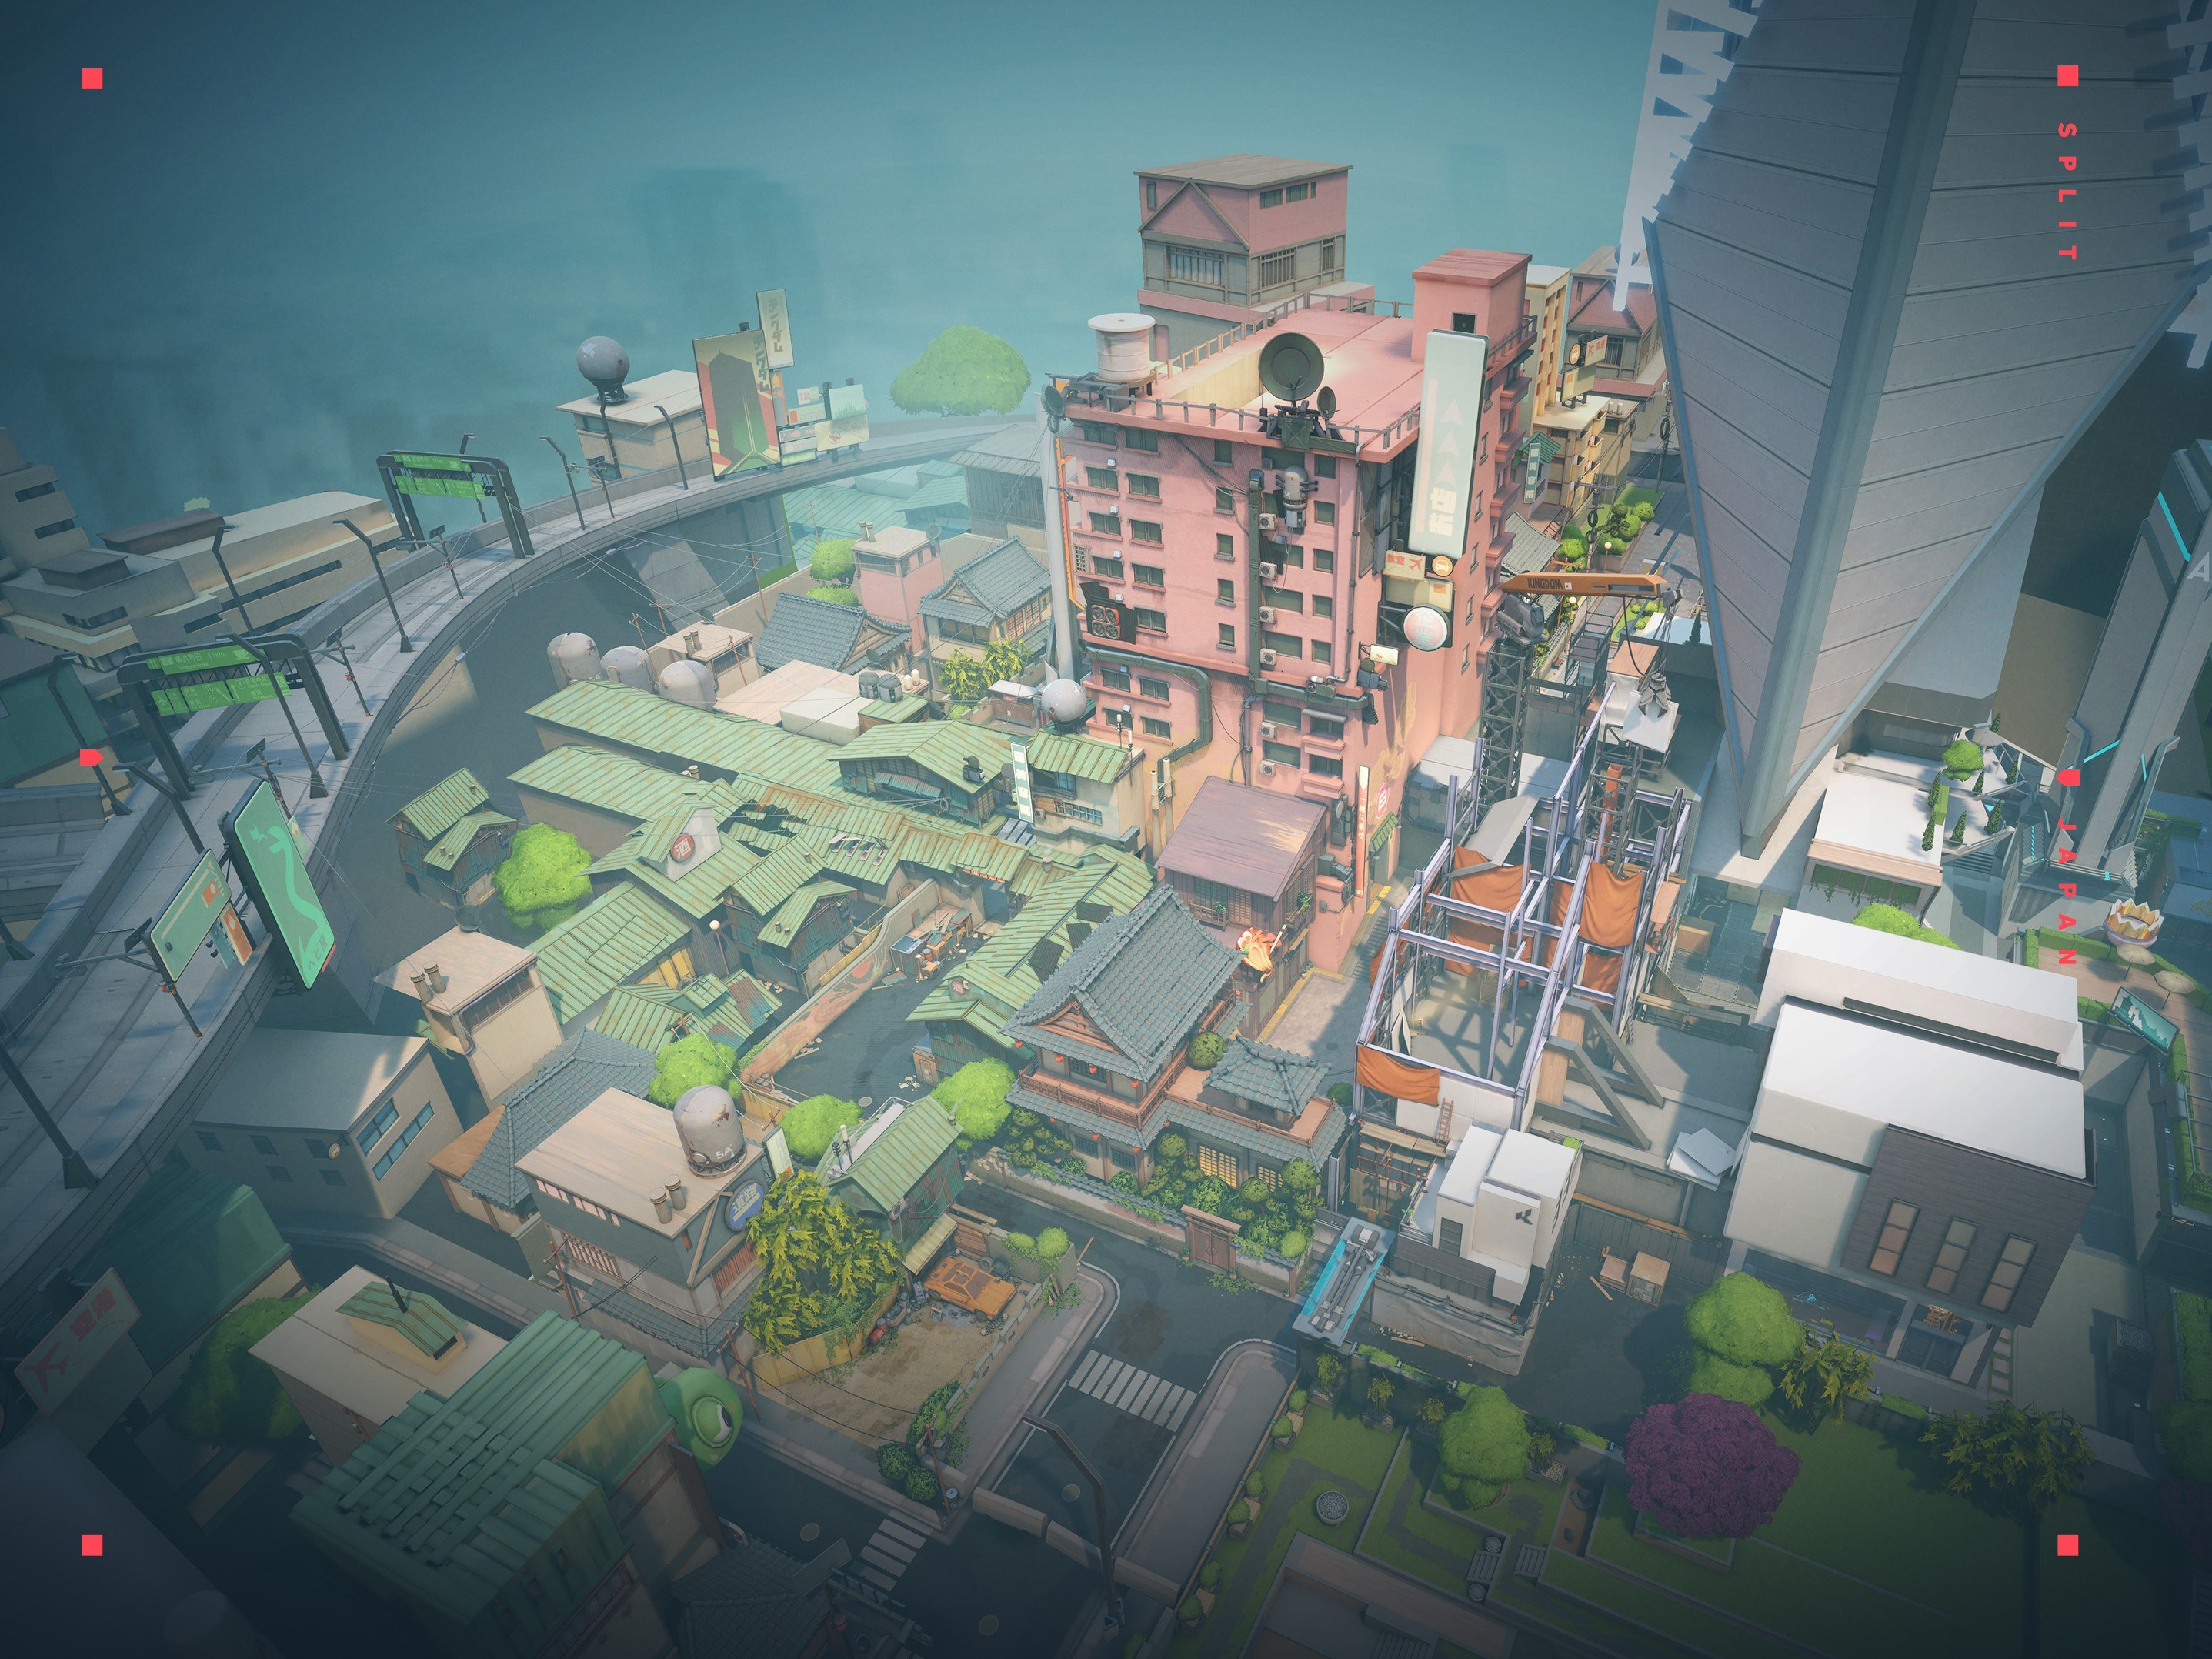
Split
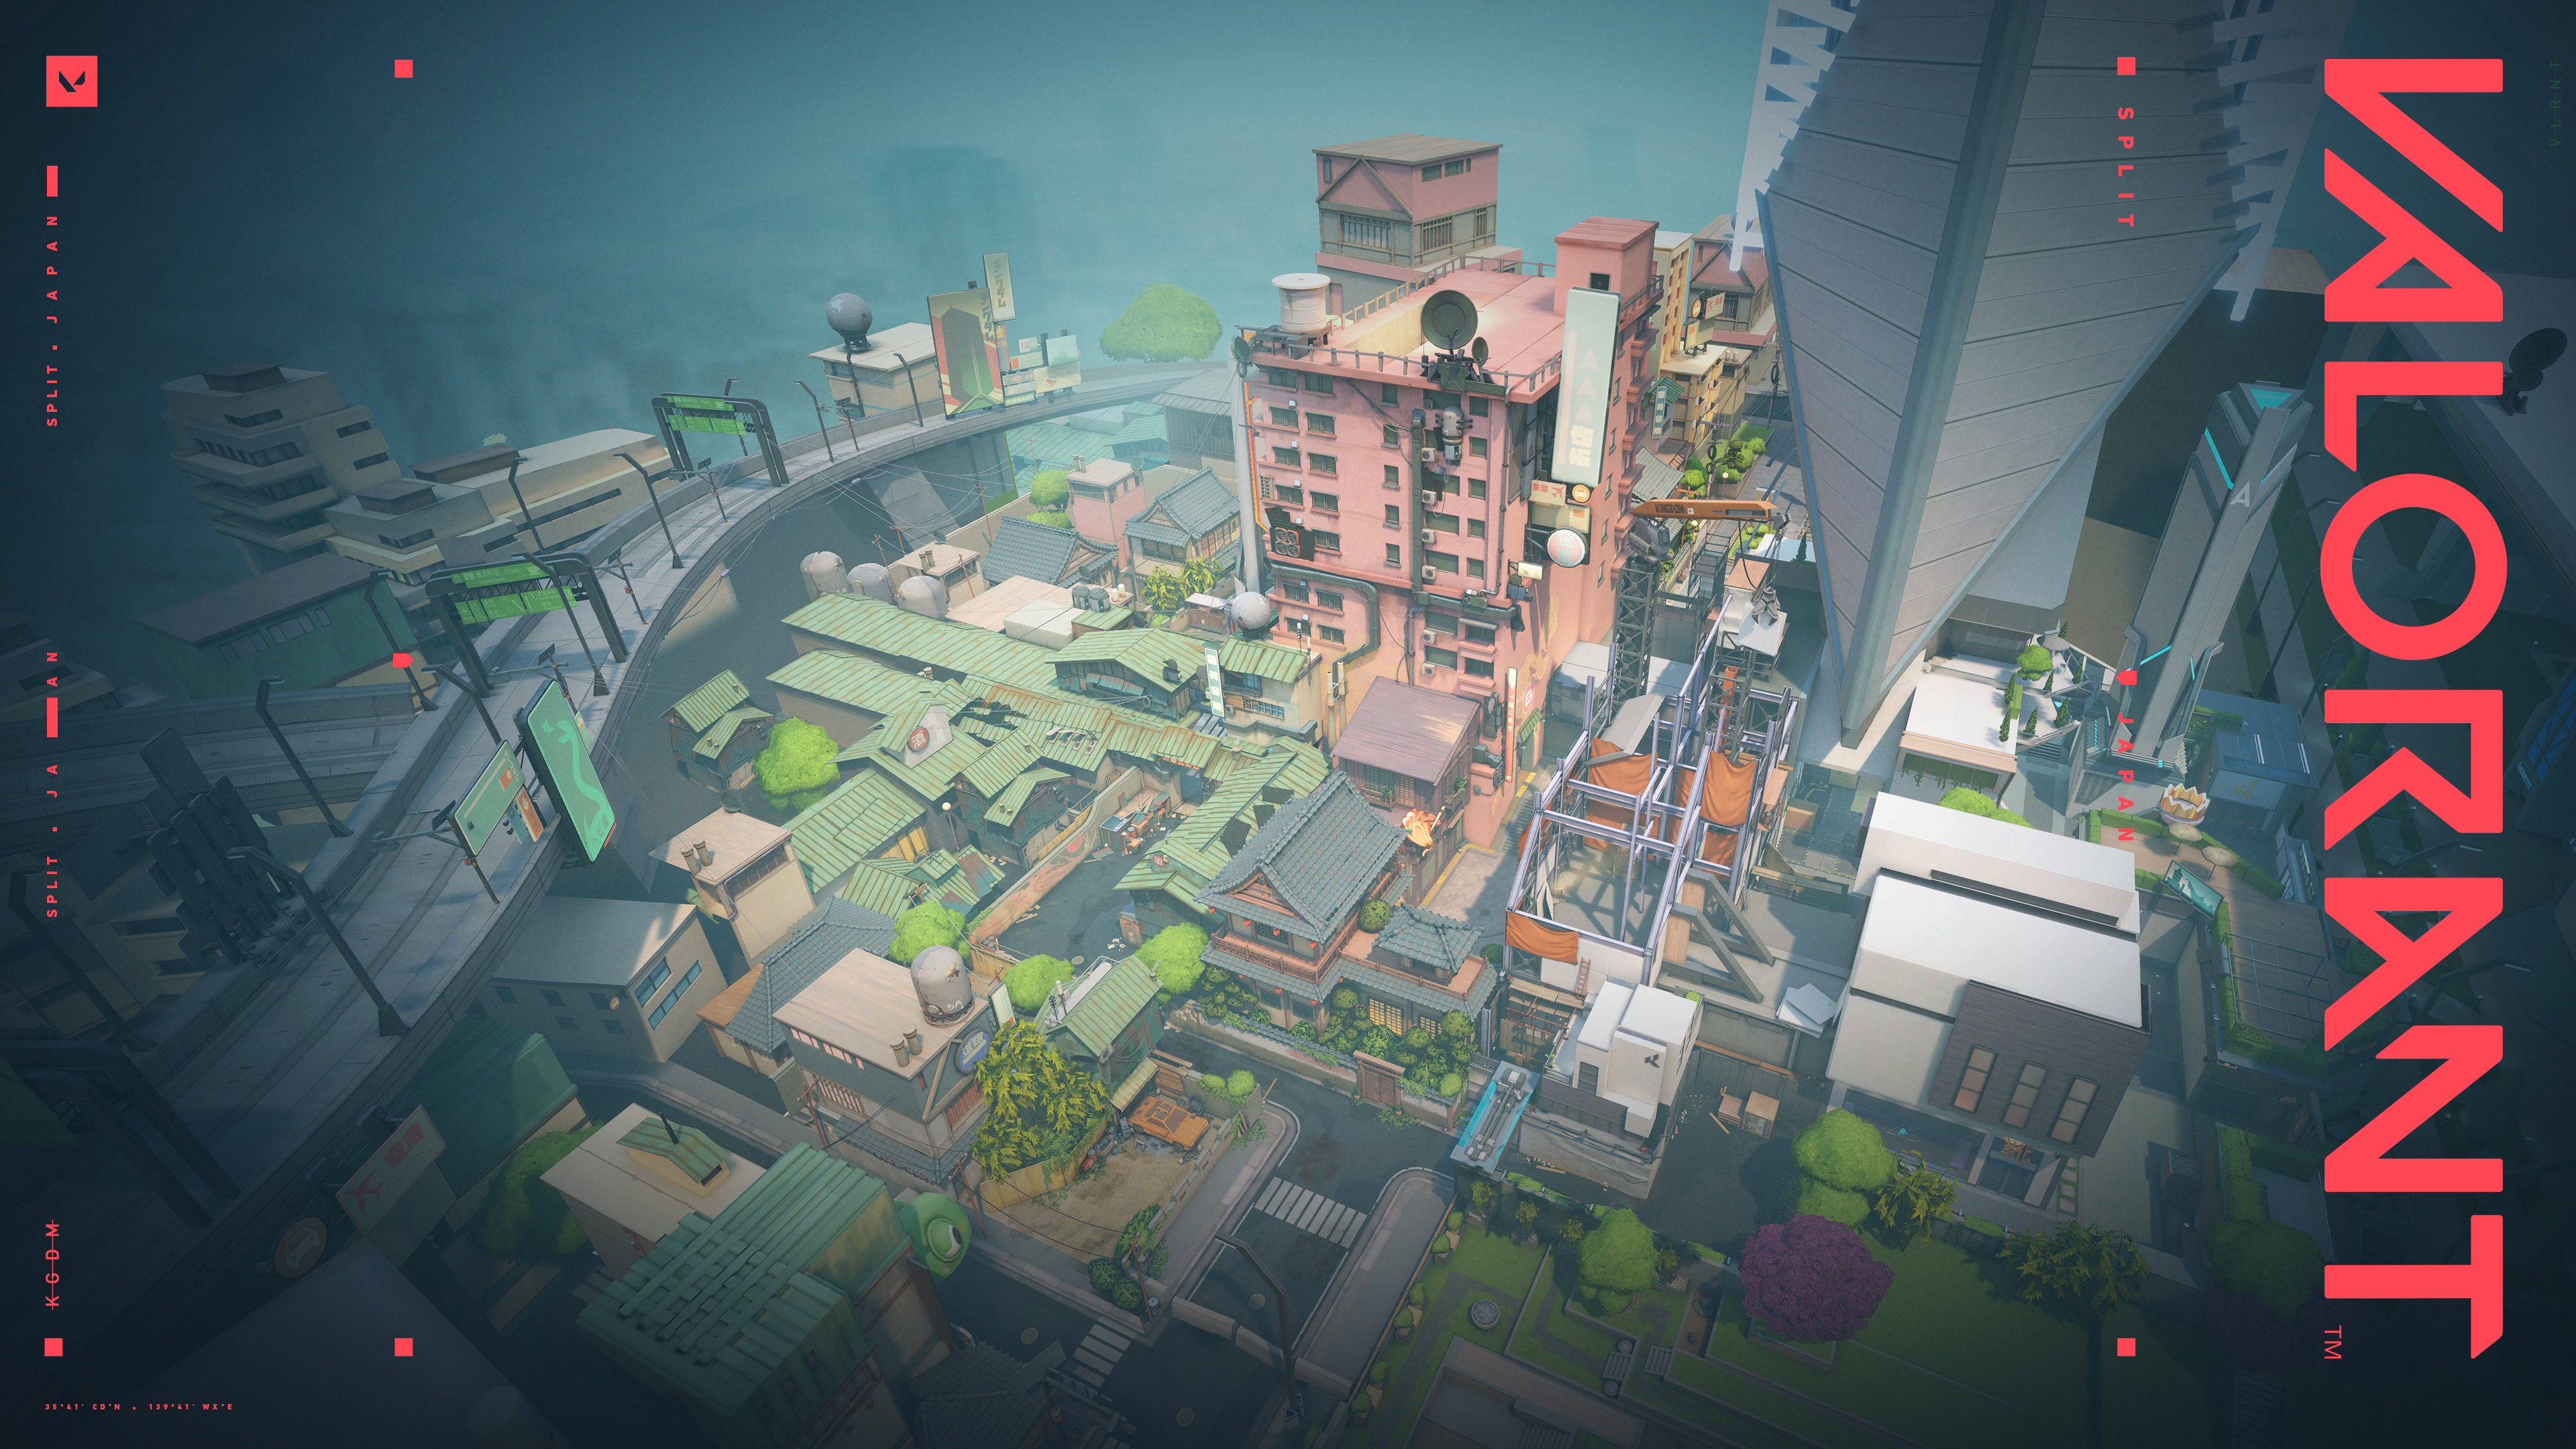
Split is generally referred to as a hit or miss map. Similar to the other two maps, Split has a lot of bottleneck spots that Sage would love to play around. Your job in most games would be to stay back, block a critical spot and watch for your teammates if they need to heal or res.
These are the three maps that Sage is probably slightly better played than the others. The only exception we would put is that Breeze is perhaps the least favorable map for Sage, as it's tough to stay alive on such an open map, and walls don't have the same effect as in the others.