If you're a mechanically gifted Valorant player, that hits heads with ease and wants to top the KDA board, then Reyna is the agent for you!

Born in Mexico, Zyanya "Reyna" Mondragón is a Radiant that hates machines and believes she's the future of the planet Earth. She's Valorant's 4th duelist, and it's a must-pick for players that love to dominate the game with high frags and are exceptionally good with their mechanical skills.
Reyna Abilities Explained
Being labeled as a hit-or-miss Agent comes primarily because of her abilities and ingame role. She is a powerful entry fragger that can heal or go invincible for a period of time after striking a kill.

Soul Harvest (Passive)
Every time Reyna strikes a kill or an enemy dies within 3 seconds of taking damage from her, she leaves behind a Soul Orb that lasts for 3 seconds. The orbs are vital for her Signature abilities, as she is mostly played around them.
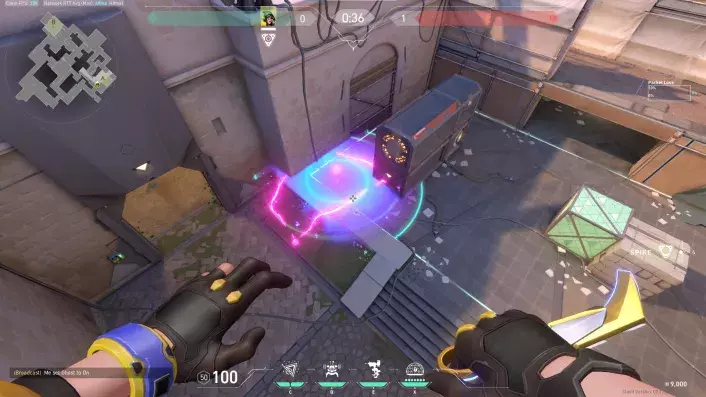
C Ability: Leer (Cost: 250 Credits, Charges : 2)
Leer is a purple floating eyeball with a primary purpose to set you up for engagements. Its placement is flexible and can be thrown across walls or obstacles. Once thrown, it NEARSIGHTS the opponents for 3 seconds. Enemies can shoot at the eyeball to nullify its debuff. To kill it, they will have to make approximately 90 to 100 damage or 3 Phantom/Vandal shots. Leer is Reyna's only ability that doesn't require a Soul Orb to be activated, apart from her ultimate.
Depending on your rank, you can expect two outcomes of what will happen once you throw the eyeball. In high ranks, people will almost instantly kill it, so it is advisable to use that small window opening and kill them once they expose their positioning or use it to gather information. As opposed to high ranks, in lower ranks, people will either hide after you cast it or get NEARSIGHTED, which will allow you to land the kills. Reyna is played around Leer, as it's her most essential and go-to ability when doing entries into sites and specific areas.
The standard advice about Leer is to not use it against multiple agents in the same place, as the chance of killing it faster is higher, and using it against a single person will most probably result in a kill. Instead, you can use it when getting surrounded by multiple targets, as it can isolate one of them and enable you to focus on the other.
Q & E Ability: Devour & Dismiss (Signature Ability | Charges: 2 | Charge Cost - 200)
Initially, her Signature ability has one charge, but for 200 Credits, you can acquire a secondary one. Their use depends on the Soul Orbs we mentioned before with her passive "Soul Harvest."


Devour
Devour gives her the ability to heal when a Soul Orb is available. Once used, a purple trail will connect to you and heal you for 100 HP. It can also OVERHEAL Reyna up to 150 total HP, which boosts her shield.
Example: If you have 100 HP and 20 shield left, you will get overhealed for 30 points.
For the purple trail to heal, you will need to be in a visible line to it without any obstacles. Once you move to a spot where there is an object between Reyna and the Soul Orb, the link will break, and it won't heal you.
Dismiss
Dismiss is her secondary Signature Ability, and same as Devour requires a Soul Orb to be used. Once used, Reyna enters an INTANGIBLE state where she is immune to damage for 2 seconds. Reyna will look ethereally with a transparent body in this state, something similar to a ghost. While in Dismiss, she can freely move but cannot shoot or use any of her other abilities. Dismiss can be ended earlier by recasting the ability.
Choosing between Dismiss and Devour
Whether you should use Dismiss or Devour after a kill is often tempting. The common practice is to use Devour after a 1-on-1 engagement and low on health or use Dismiss after you snatch a kill while other enemies are present in the area. Dismiss can also be a tool to peak angles, change a position without receiving damage, or disengage an unfavorable situation.
Yoru flashSkye flashReyna dismissez balanced gameplay https://t.co/ul2SypKbgd
— TenZ (@TenZOfficial) June 16, 2021
Ultimate Ability: Empress (6 Ultimate Points)
Her ultimate ability awakens the vampire beast inside her, putting her into a frenzy and giving a massive buff to her abilities and skills. Empress lasts for 30 seconds, and gives her:
- 25% Equip Speed
- 15% Fire Rate
- 25% Reload Speed
- 25% Recovery Speed
Reyna is the ultimate raze ult counter pic.twitter.com/1FureVkCYw
— Darshan (@Toonie2k) September 13, 2021
This Vampiric Frenzy allows her to change between weapons quicker, have a faster fire rate, reload, and debuff recovery. Once used, she has a one-second preparation time in which she is vulnerable. After the preparation time, your screen will be darker, and the enemies will be highlighted in red making them more visible to you. Empress works similarly to Viper's Ultimate, which outlines enemies within the Viper Pit. If you activate Empress and enter Viper's pit, you will be able to see Viper as clearly as she can see you.
Empress also buffs her Signature Abilities, as she gains unlimited Devour charges that will be automatically used after every kill. It also buffs Dismiss as it makes Reyna INVISIBLE once used.
How To Attack With Reyna
Reyna is a Duelist, and naturally, she is best played aggressively for her role. Since Leer isn't effective against a group of people, it's good to approach the tight angles where you will have only one opponent. For the Pistol round, it's recommended to buy a charge of Leer and a Ghost, shields are not recommended in the early stages as Devour can cover that part after a kill.
Reyna excels at one-on-one engagements, so you should force them while Attacking and flank the opponents from other sides while your team is pushing the main entrances. Leer usage is vital when entry fragging. The common rule is to use Leer up in the air and away from Reyna so that the enemies have to counter strafe to kill you. If you wish to learn what counter strafing is, check our How To Improve Your Aim in Valorant? Article.
Forget about all the others, Reyna is me brohttps://t.co/lz3kqjgEHq pic.twitter.com/MHkct4O3Vn
— Liquid ScreaM MA (@ScreaM_) May 11, 2022
Reyna is a master of clutching, so don't be afraid to try yourself in those 1 vs. 2 or 1 vs. 3 clutch situations. A single kill and a Dismiss to disengage can level the battlefield and increase your chances of a clutch, making your teammates roar in excitement and euphoria.
How To Defend with Reyna
Duelists love to play aggressively while defending as they are traumatized by their teammates constantly feeding on the other site. You can fix this by consistently positioning yourself aggressively to enable yourself to flank the enemies later in the round. Like your Attacking style, pick angles on the map where you will not meet more than two Agents, as Leer can enable you to win those engagements.
VANDAL ACE X REYNA pic.twitter.com/gUSyYEpOGO
— Liquid ScreaM MA (@ScreaM_) July 31, 2020
If you are defending with another Teammate, always rotate or approach angles together. People's biggest mistake is when they overestimate themselves and split up from their teammates when rotating from one site to another. When defending Information is key. The earlier you get it, the better for your team. It's common to camp the angles of the main entry points, use Leer and do a small peek to get information about the enemies positioning.
Top 3 Maps for Reyna
What Reyna is mostly comfortable with are tight angles, lots of one-on-one engagement and that's what the following maps have and Reyna players love it!
Bind
Duelists like Reyna and Jett love Bind! There's no mid, and you can only go left or right with tight spots that can easily be penetrated or defended.
When defending:
As Reyna, you want to stay on A, since Showers and U-Haul are perfect spots for Reyna's ability kit. Those places give you an easy path to Dismiss away after a kill, and shoulder peeks are not that dangerous. If you pick any of these places you can hold the site alone. If you are forced to play B, the only place that is good for Reyna is Garden, as you can peek on Long, and hold from Garden if enemies are pushing from window.
When attacking:
B Long is where you want to be as Reyna when attacking. Her role as an Entry Fragger excels in that spot, as 1 Leer for Garden and another for site can enable your team to push into the site with ease. Your second option would be Hookah, although a more difficult entry with the first Leer in Window, and the next for site it's a doable entry point. Pushing from A is a lot harder, if you choose to go from Short make sure to push the first entry point without any utility and use your Leer on site. Positioning your Leer is key, and it has to be in a position to affect Haven and Showers.
Icebox

Similar to Bind, Icebox has lots of tight spots, and what's more important it's a very good Sniper Map. Reyna is one of the best counters versus snipers as we mentioned before which is one of the reasons she has a very good time on Icebox.
When defending:
On A site you can afford to play aggressive on defense, and there are 2 ways of approach. You can start by rushing into Nest and getting a quick peek kill from there. That spot allows you to dismiss back to safety without getting killed. The second approach is to use the zipline to get closer to the attacker's entry point but make sure to shift halfway on the zipline so you don't get noticed.
B site long is your place when both Defending and Attacking. As we previously mentioned, Leer is a huge counter for snipers, and this is the usual spot where snipers try their luck.
When attacking:
As mentioned before, as there is usually only 1 person defending B long, a single Leer into a quick shoot-peak, will either push the defender away or kill him. Your other option is also Mid/Boiler, as you can use the same tactic to either enter the tube afterward, or push into A.
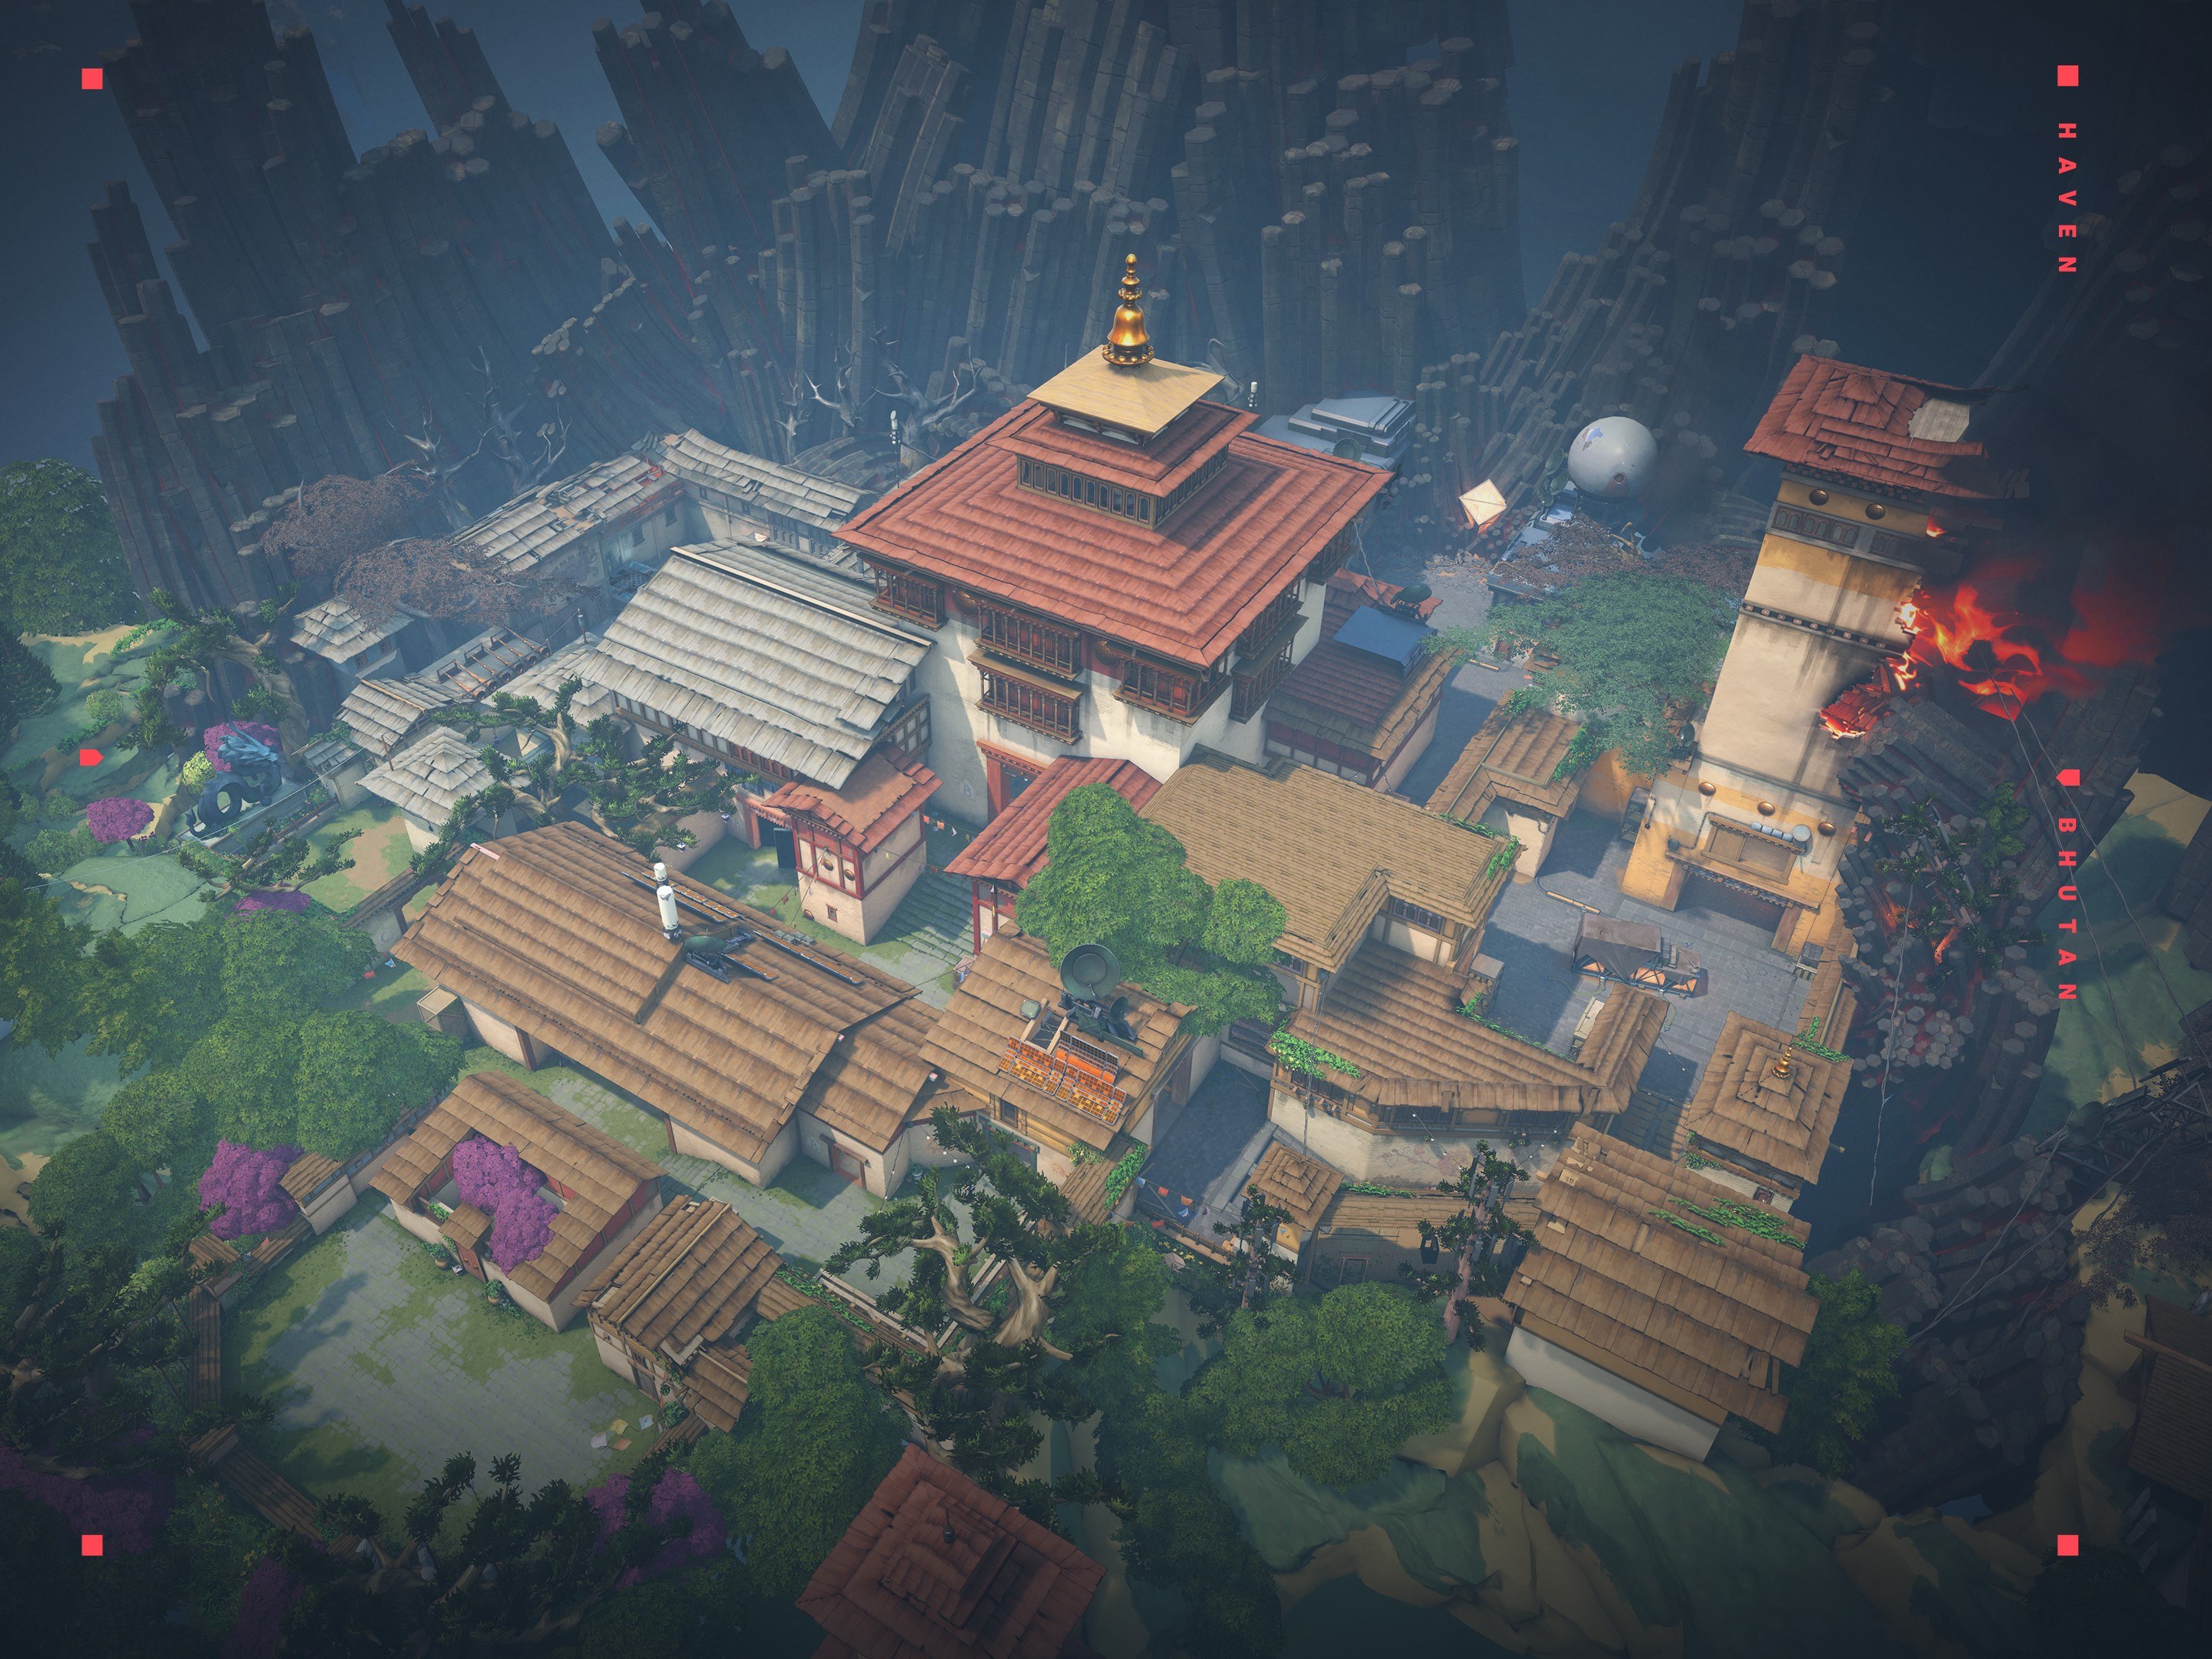
Haven

Compared to the other maps, Haven has 3 sites, which makes Reyna a valuable pick. Lots of close-ranged combats, multiple angles in a single area, and flanking potentials is what haven has, and Reyna loves playing in them. Since it's a big map, lurking is very easy, and those one-on-one engagements can be nasty.
When defending:
Since we want to make full use of our abilities, Window is always your first choice, since it gives you the opportunity to defend both Garage, and join B if the enemies are pushing there. Your second option can be either A Short, where you can use Leer to pick the enemies pushing into A, or Long to Lobby since it gives you the opportunity to rotate or lurk.
When attacking:
When attacking in Haven you want to contest the most important positions on the map. Garage in C is easily contestable, as a Leer on the ground and a quick push can give you that ground. Once you win Garage and Window, you can choose between C and B, depending on where your teammates are. Your other option can be A short to site, first Leer to push into short, and the second on-site so your teammates from long can join you.